At the time it was simply about capturing and saving the moment, until eventually that feeling grew into something more serious. I wanted to get good at snapping mountains and such - really good, almost to a point of obsession.
I’ve educated myself in landscape photography, picking up pointers through trial and error. So I’m going to share with you these tips that have assisted in my elevation from an amatuer to a keen, semi-pro photographer. Or maybe quarter-pro - it’s not my call really. Anyway, landscape fanatics - grab a pen and some paper, and let’s go.
1) Cut yourself some slack and use ‘AUTO’ mode
Confronting a stunning mountain range, my knee-jerk reaction is to flip my DSLR into full manual mode. I’m a control freak, and I often doubt the camera’s ability to configure the correct exposure settings. Shooting Norway back in 2017 however, I was wrong.
On an awfully cloudy day, while trying to snap a mountain and lake, a bright light blinded me, and I couldn’t tell if the exposure I had set on manual was correct, while refraining from using AUTO mode. I took the shots anyway, thinking I can fix any issues in post-production.
When I got home, I noticed the photos were almost entirely overexposed, with tremendously little detail in those clouds - it was just an unrelenting sheet of white. The photos were, for the most part, beyond repair.
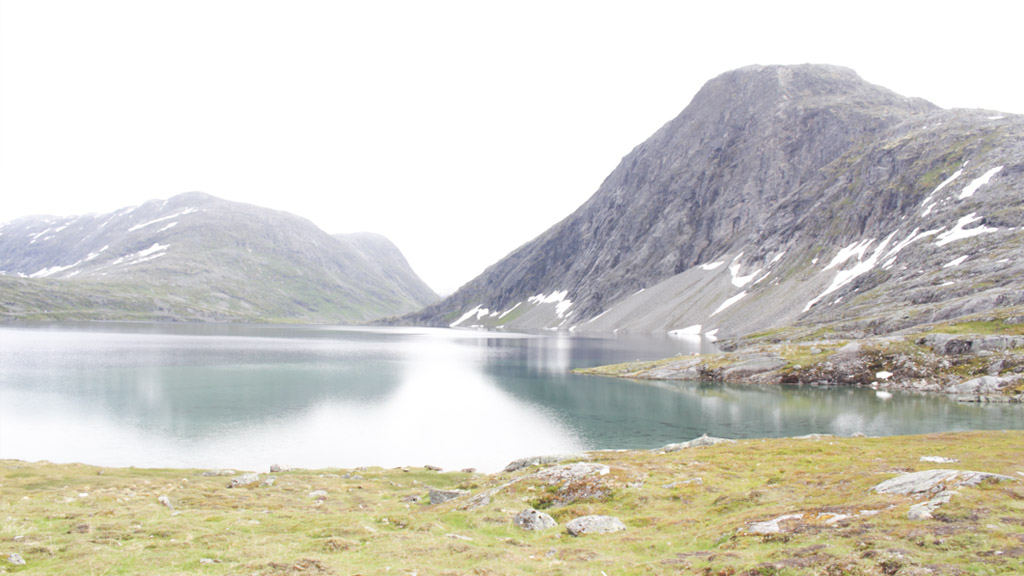
A beautiful scene, ruined by my foolishness and lack of thinking. To be safe, I should’ve taken just a few back-up shots in AUTO. There’s nothing wrong with it - the important thing is to walk away with the shot you wanted.
2) Dynamic range is your friend
When hunting for a camera suited-and-booted for landscape shots, ignore flashy features like high megapixels, built-in WiFi and SD card slots. Instead, check out its dynamic range.
Dynamic range is essentially the difference between black and white tones in your view. If you’ve ever tried to shoot during the day time and came away with photos where the sky was really bright and the objects were rather dark, this is because the camera cannot handle that lighting situation and thus the detail in both the sky and the objects can be lost.
Opting for a camera with a high dynamic range will help in such situations, allowing you to capture photos of a good balance in lighting without losing detail.
3) Stretch your image’s depth of field
A shallow depth of field is good for creative shooters wanting to photograph foreground objects with a blurred background. As landscape photographers, we don’t want that - we want a high depth of field, to capture faraway detail, such as mountains and clouds.
A shallow depth of field is equal to a small aperture setting, and a small aperture setting is, in fact, a higher ‘f/’ number. So those creative photographers enjoy an ‘f/22’ aperture setting over ‘f/8’, which us landscape lovers would prefer.
There’s a common saying in photography: “f/8 and be there”. Coined by Arthur Fellig, it means that that a setting of ‘f/8’ is safe. It’s often the middle-ground between shallow and wide depths of field and, if you’re not sure exactly which number to choose, chances are ‘f/8’ will suffice.
4) Don’t buy a tripod - buy a compact tripod
Let’s talk about equipment and accessories.
Tripods suck, and yet, tripods rule. They enable near-perfectly steady shots and they take the camera’s weight off your hands - win-win. However, they have their downsides.
They’re big, heavy, cumbersome, awkward, annoying, difficult to set up and difficult to put away (well - budget tripods anyway). I don’t want to unpack, set up and screw my camera onto a stand every single time. With that in-mind, I recommend a compact, low maintenance tripod. You could call it a ‘travel’ tripod.
They’re usually 40 centimetres or less length-ways, lack the unnecessary mechanisms you’ll never use on cheaper, retched tripods, and won’t be a pain to lug around. It makes a huge difference to your photography experience, both practically and ergonomically.
5) ...and then, buy a remote shutter control
They can be picked up for as little as £5/€6/$7 and they complement your tripod-based photography. Just like a television remote, a remote shutter control operates the camera’s shutter for you (provided your DSLR supports it).
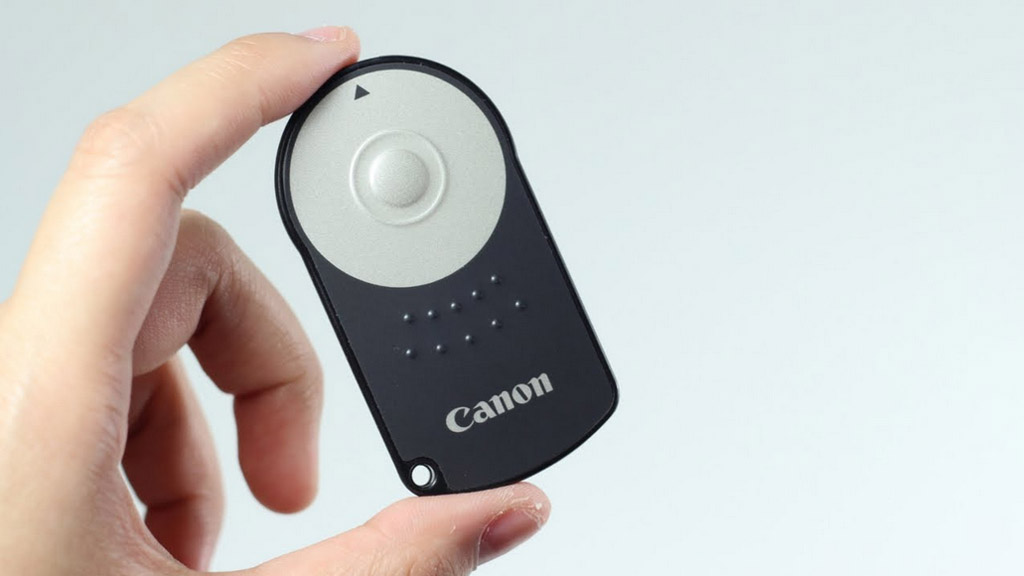
Why is this important? A tripod allows for greater image stability sure, but you still have to physically press the shutter button to take the shot, causing potential instability.
Shaky shots are the bane of landscape photography, and a remote control takes the human aspect away entirely, allowing for a 100% stable shot (unless it’s windy, heaven forbid).
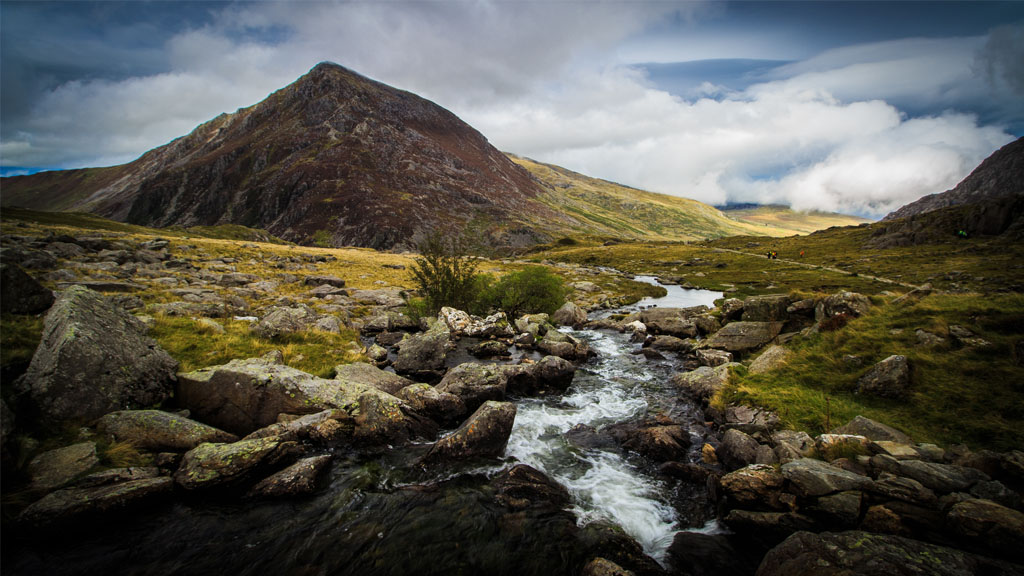
6) Pack light
Going hiking or day's wander with your camera? Don't overdo it on the packing.
During the aforementioned trip to Snowdonia, I opted to take every single piece of camera equipment I owned. “I’ll be mega prepared”, I thought. Turns out, I wasn’t prepared for being over-prepared. I took four lenses, a dozen ND and polarising filters, a heavy tripod, a gorilla tripod, lots of cleaning equipment, and more. When I got there, out on the field, not only was I uncomfortable from lugging my gear around in a specialised DSLR backpack, but it was all for nothing.
I only ended up using one lens, a few filters and a tissue for that lens. Turns out, I hadn’t considered my location or what equipment would be appropriate for it. In reality, not a lot was required to achieve my photography objectives. The lesson here: prepare for the trip you’re actually going on, not every trip you’ll ever go on.

